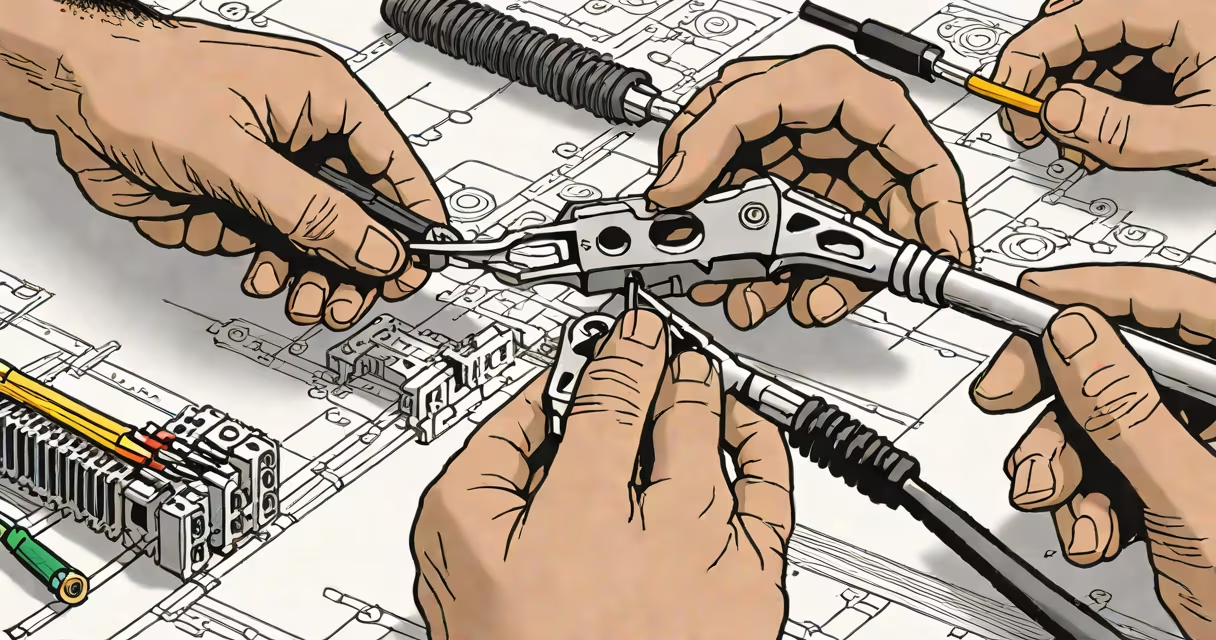
Terminating a Cat 6 cable involves stripping the outer jacket, separating and aligning the twisted pairs, inserting them into an RJ45 connector, and securing them with a crimping tool. This process creates a durable, high-speed Ethernet connection capable of supporting 10 Gbps over short distances.
Cat 6 cables use four twisted pairs of copper wire to reduce crosstalk and improve signal integrity compared to older Cat 5e standards. Proper termination ensures minimal interference and maximum bandwidth performance. The standard pinout configurations are T568A and T568B, both defined by the Telecommunications Industry Association (TIA) and ANSI/EIA-568-B.1.
Using incorrect wiring or poor crimping results in intermittent connectivity, reduced speeds, or complete failure. A single misaligned wire can cause signal degradation exceeding 30 dB in high-frequency applications. Always verify your cable with a network tester before deployment.
Begin with a Cat 6 cable, typically rated for 250 MHz bandwidth and 10 Gbps transmission over 55 meters. Use a cable stripper to remove 1.5 inches of outer insulation without nicking the internal wires. A pair of diagonal cutters and a punch-down tool (also called a Krone tool) are essential for trimming and securing the wires.
An RJ45 modular connector fits over the eight individual conductors. Choose a shielded (STP) or unshielded (UTP) version based on your environment. Shielded cables reduce electromagnetic interference in industrial settings. For home or office use, UTP Cat 6 is sufficient and easier to handle.
A network cable tester with LED indicators confirms continuity and pin mapping. The Fluke Networks LinkRunner G2 or the Klein Tools Network Cable Tester are widely used in professional installations. These tools validate both straight-through and crossover configurations.
First, strip 1.5 inches of the outer sheath using a dedicated cable stripper. Do not use scissors or pliers-this risks damaging the internal pairs. Once exposed, untwist each pair no more than 0.5 inches from the cut edge. Excessive untwisting increases crosstalk and reduces performance.
Arrange the wires in the correct sequence: T568B uses the order orange-white, orange, green-white, blue, blue-white, green, brown-white, brown. Place the wires flat against the connector's front face, ensuring each conductor sits in its designated slot. Double-check alignment before crimping.
Insert the connector into the crimping tool's jaws. Apply firm pressure until the tool's blades cut through the insulation and make contact with the metal contacts inside the RJ45 plug. The tool should produce a distinct "click" sound upon completion. After crimping, inspect the wires for proper seating and visible damage.
There are two primary termination methods: punch-down and direct crimp. Punch-down terminates wires onto a patch panel using a keystone jack or 110 block. This method is common in structured cabling systems and allows for easy reconfiguration. Direct crimping connects the cable directly to an RJ45 connector and is ideal for creating custom patch cords.
For permanent runs, such as wall-to-wall connections in offices, punch-down terminations offer better long-term reliability. They reduce strain on the connector and allow for color-coded labeling. For temporary setups or field repairs, direct crimping is faster and requires fewer tools.
| Method | Best For | Tools Required | Performance Impact |
|---|---|---|---|
| Direct Crimp | Custom patch cords, field repairs | Crimping tool, RJ45 plug | Minimal if done correctly |
| Punch-Down | Structured cabling, wall outlets | Punch-down tool, keystone jack | Higher reliability over time |
Some installers mistakenly assume that shielded Cat 6 cables require special termination techniques. While shielding improves noise rejection, the termination process remains identical to UTP. The shield must be grounded at one end only to prevent ground loops. Failure to do so can introduce interference rather than eliminate it.
One frequent error is leaving too much untwisted wire. The recommended maximum is 13 mm (0.5 inches) from the outer jacket. Exceeding this limit causes near-end crosstalk (NEXT) to exceed acceptable thresholds, especially at 10 Gbps.
Another issue is improper insertion of wires into the RJ45 connector. Wires must fully seat under the metal contacts. Partial insertion leads to intermittent connectivity. Always check that each wire makes contact with the corresponding pin when viewed from the front.
I once terminated a Cat 6 cable for a client's home office. The system failed to connect at 1 Gbps despite passing basic continuity tests. Upon inspection, one wire was bent at the entry point due to uneven crimping. Re-crimping with consistent pressure restored full speed. This experience confirmed that even minor physical defects impact performance.
After termination, test the cable with a certified network tester. The device sends signals through each wire pair and measures return loss, crosstalk, and propagation delay. A pass result confirms compliance with TIA-568-C.2 standards.
If the tester shows errors, recheck wire order, ensure no bare copper is exposed, and verify the crimp is secure. Common failures include reversed pairs, open circuits, or shorts between adjacent wires. Replace the connector if problems persist.
For mission-critical environments like data centers, perform a Time Domain Reflectometry (TDR) test. This identifies impedance mismatches and discontinuities along the cable run. TDR results are critical for validating performance beyond basic connectivity.
Cat 6 supports 10 Gbps up to 55 meters. Beyond that distance, speeds drop to 1 Gbps. Cat 6a extends reach to 100 meters at 10 Gbps but requires thicker insulation and larger connectors. Cat 7 offers higher shielding and performance but uses proprietary connectors incompatible with standard RJ45 ports.
Use Cat 6 for most residential and small business networks. It balances cost, performance, and compatibility. For PoE (Power over Ethernet) applications, such as IP cameras or VoIP phones, Cat 6 provides adequate power delivery up to 60 watts over 100 meters, per IEEE 802.3bt standards.
Terminating a Cat 6 cable correctly ensures stable, high-speed network performance. Follow the T568B standard, minimize untwisted wire, and always test after crimping. A properly terminated cable delivers consistent gigabit speeds and reduces downtime caused by intermittent failures.